 how-to
How to Choose a Ductless Mini Split for Your Home
Last Updated: October 24, 2026
Quick Summary
To choose a ductless mini split for your home, match the system to your floor plan (single-zone for one room, multi-zone for several rooms used at once) and size it by BTU capacity based on each room's actual heat load, not just square footage. Confirm electrical capacity, permits, and outdoor unit placement before you buy.
- A rough sizing rule of thumb is about 20 BTU per square foot of living space, as a starting point only.
- The current federal minimum is 14.3 SEER2 for most residential split systems.
- Most systems need a dedicated 220-volt circuit, which may require an electrical panel upgrade.
- Modern cold-climate heat pumps keep heating well below freezing, though capacity drops as temperatures fall.
- Compare systems on a ten-year cost of ownership rather than the sticker price.
Table of Contents
- Start With How a Ductless Mini-Split System Works
- Single-Zone vs. Multi-Zone Mini Split: Match the System to Your Floor Plan
- Mini Split Sizing: BTU Capacity, Square Footage, and the Factors That Change Both
- What a Mini Split SEER2 Rating Tells You About Operating Costs
- Mini Split Installation Requirements: Electrical, Permits, and Site Readiness
- Cold-Weather Performance, Humidity, and Comfort Trade-Offs
- Total Cost of Ownership and Available Incentives
- Frequently Asked Questions
Start With How a Ductless Mini-Split System Works
Learning how to choose a ductless mini split for your home starts with understanding the machine itself. A ductless mini split is a heat pump system that moves heat rather than generating it, using a small indoor air handler connected by a thin line set to an outdoor compressor unit. We install these systems in older homes across the region that were built without ductwork.
Indoor Unit, Outdoor Unit, and the Line Set Between Them
Three parts do all the work. The indoor unit mounts high on a wall or ceiling and blows conditioned air into the room. The outdoor unit holds the compressor and condenser. The line set is the narrow bundle of refrigerant tubing, power cable, and condensate drain that runs between them through a small hole in the wall.
That thin line set is the whole point. It lets you cool a room without tearing open ceilings for ductwork.
A common mistake is planning the indoor unit's spot before the outdoor unit's. The two must be reasonably close, or the run gets long and the install gets harder.
Single-Zone vs. Multi-Zone Mini Split: Match the System to Your Floor Plan
A single-zone system pairs one outdoor unit with one indoor unit. A multi-zone system connects one larger outdoor unit to several indoor units. The choice comes down to your floor plan, not your budget.
Here is how to decide:
- One room, one unit: Choose single-zone. Simple, efficient, and easier to service.
- Several rooms used at once: Choose multi-zone. One outdoor unit serves them all.
- Rooms used at different times: Separate single-zone systems often work better.
Multi-zone systems are convenient, but they carry a trade-off. When only one zone runs, the system may not hit peak efficiency.
Mini Split Sizing: BTU Capacity, Square Footage, and the Factors That Change Both
Mini split sizing means matching BTU capacity to the actual heat load of a room, not just its square footage. A rough rule of thumb is about 20 BTU per square foot of living space, but treat that as a starting point only. Oversizing wastes energy and shortens the system's life. Undersizing leaves you hot in July.
Square footage gets you close. These factors move the number:
- Ceiling height: Tall ceilings mean more air to condition.
- Insulation: Poor insulation raises the load.
- Window exposure: Big south- or west-facing glass adds heat.
Room-by-Room Planning Worksheet
Use this simple worksheet before you call anyone. Walk each room and fill it in.
| Room | Square Feet | Ceiling Height | Window Exposure | Insulation | Notes |
|---|---|---|---|---|---|
| Living room | N / S / E / W | Good / Fair / Poor | |||
| Primary bedroom | N / S / E / W | Good / Fair / Poor | |||
| Kitchen | N / S / E / W | Good / Fair / Poor | Adds heat | ||
| Home office | N / S / E / W | Good / Fair / Poor |
Write down which rooms you use at the same time. That pattern tells you where zones should split.
When a Professional Load Calculation Is Necessary
A load calculation is a room-by-room measurement of how much heating and cooling a home actually needs. Get one when any of these apply:
- The home is older, with unknown insulation.
- You are adding or replacing a whole system.
- Rooms run hot or cold unevenly.
A rough estimate is fine for budgeting. A load calculation is what you install from.
What a Mini Split SEER2 Rating Tells You About Operating Costs
The mini split SEER2 rating measures cooling efficiency: higher numbers mean less electricity for the same cooling. SEER2 replaced the older SEER standard, and the current federal minimum sits at 14.3 SEER2 for most residential split systems.
Higher efficiency usually means a higher upfront price. The payoff shows up on monthly bills. Ask for the HSPF2 rating too, which measures heating efficiency, and the EER rating for peak-heat performance.
Mini Split Installation Requirements: Electrical, Permits, and Site Readiness
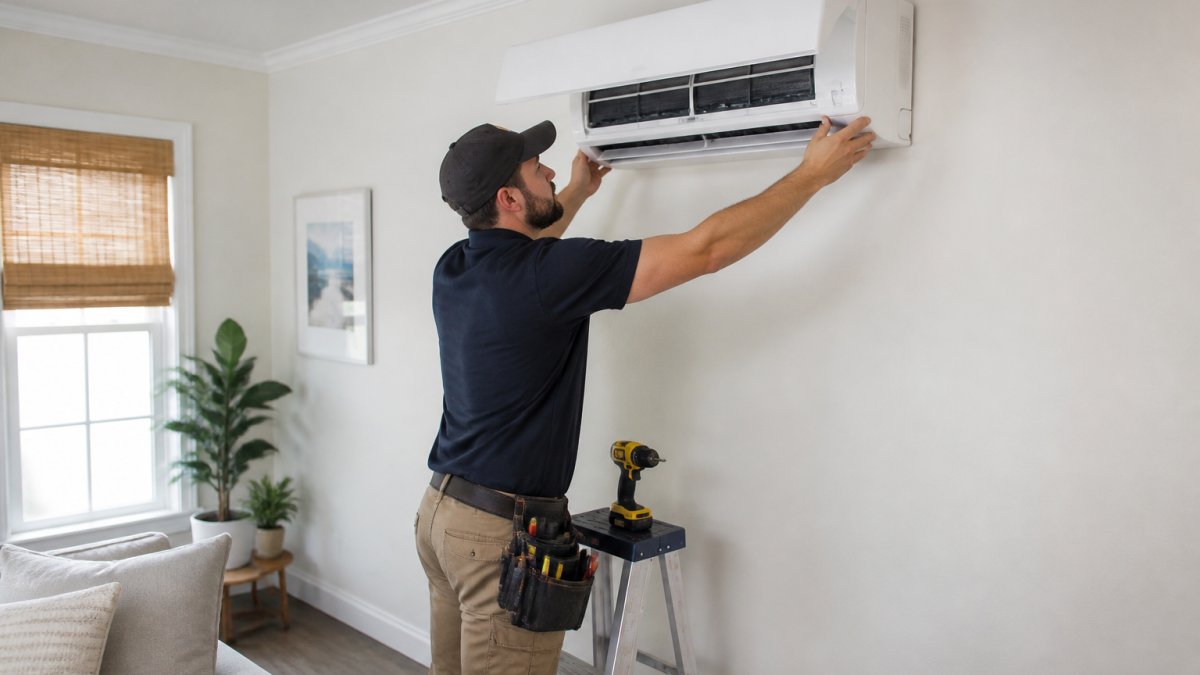
Mini split installation requirements come down to three checks: power, permits, and a workable spot for the outdoor unit. Most systems need a dedicated 220-volt circuit, which may mean an electrical panel upgrade in older homes. Permits are typically required, and local rules vary, so confirm with your town before work starts.
Electrical Readiness: Panel Capacity and Dedicated Circuits
A mini split is not a plug-in appliance. Each outdoor unit draws a dedicated circuit, and multi-zone systems may need more than one. Before you buy, have an electrician confirm three things:
- Available panel capacity. The panel must have open breaker slots and enough total amperage to carry the new load alongside existing appliances. A service panel that is already near its limit may need an upgrade, which adds cost and time.
- Circuit size. The manufacturer's installation manual specifies the minimum circuit ampacity and maximum overcurrent protection for each model. Those numbers, not a generic rule, determine the wire gauge and breaker size.
- Disconnect and whip. Most outdoor units require a weatherproof disconnect within sight of the unit and a flexible whip connecting it to the circuit.
A common pattern in older homes is a 100-amp panel with no open slots. In that case, the electrical work can become the largest line item in the project, so get the panel checked before you commit to a system size.
Line-Set and Condensate Routing
The line set carries refrigerant, power, and condensate between the indoor and outdoor units. Plan the route before installation day:
- Length and elevation limits. Every model has a maximum line-set length and a maximum vertical separation between indoor and outdoor units. Exceeding either voids the warranty and hurts performance.
- Gravity drainage. Condensate drains by gravity in most installations, so the indoor unit needs a downward path to the outdoors or to a drain. If gravity drainage is impossible, a condensate pump is required and needs power and a serviceable location.
- Wall penetrations. Each indoor unit needs a small hole through an exterior wall, sealed and sleeved. Locate it where the line set can run without crossing doorways, closets, or structural framing.
Outdoor Unit Placement
The outdoor unit needs a level pad or wall bracket, clearance for airflow on all sides per the manufacturer's manual, and a location that keeps noise and discharge air away from bedroom windows and patios. In cold climates, mount the unit above expected snow depth and confirm the defrost discharge will not ice over a walkway.
Permits and Inspection Sequence
Permits are typically required for both the electrical work and the refrigerant line connections, and local rules vary. A typical sequence is:
- Confirm zoning and any noise or screening limits on outdoor equipment.
- Submit the permit application with the equipment model numbers and site plan.
- Complete rough-in electrical and line-set work.
- Schedule the inspection.
- Commission the system and document the startup readings for warranty and incentive purposes.
Questions to Ask Before You Sign
Use this list to screen installers and confirm readiness:
- Will you perform a room-by-room load calculation, or size from square footage?
- Who pulls the permit, and is the fee included in the quote?
- Does the quote include the electrical circuit, disconnect, and any panel work?
Clear wall space for each indoor unit, a level pad or bracket for the outdoor unit, space for airflow, a path for the line set and condensate drain, available electrical capacity, and a filed permit application are the six site-readiness items to confirm before work begins.
Cold-Weather Performance, Humidity, and Comfort Trade-Offs
Cold-weather performance has improved a lot. Modern cold-climate heat pumps keep heating well below freezing, though capacity drops as temperatures fall.
Humidity control matters in summer. Variable-speed operation runs longer at lower output, which pulls more moisture from the air than a system that blasts on and off.
Noise is the other trade-off. Indoor units are quiet, but outdoor units hum. Place them away from bedroom windows.
Total Cost of Ownership and Available Incentives
Total cost of ownership runs beyond the equipment: installation, electrical work, permits, maintenance, filters, and electricity over the system's life. Ductless systems avoid duct losses, which helps operating costs. They also need regular filter cleaning to stay efficient. The useful comparison is not the sticker price of two systems but the ten-year cost of each.
Building a Ten-Year Cost Comparison
Compare systems on the same five lines:
- Equipment and installation. Include the line set, pad or bracket, electrical circuit, disconnect, and any panel work. A low equipment price with a long line-set run or a panel upgrade can erase the savings.
- Permits and inspection fees. These vary by jurisdiction and are easy to overlook in a quote.
- Routine maintenance. Filter cleaning is a homeowner task, but professional coil cleaning and refrigerant checks are periodic costs. Ducted systems add duct sealing and cleaning.
A simple worksheet: list each candidate system in a column, enter the five cost lines as annual or one-time amounts, and total them over ten years. The lowest purchase price rarely wins.
How Incentives Stack
Incentives can offset a meaningful share of the upfront cost, and they come from three layers:
- Federal tax credits. ENERGY STAR's guidance on heat pump tax credits explains the federal credit and the efficiency thresholds a model must meet to qualify.
- State and local programs. Many states run clean energy or electrification programs with their own eligibility rules and caps.
- Utility rebates. Local utilities often offer rebates for qualifying heat pumps, sometimes with income-based tiers.
These layers can usually be combined, but each has its own paperwork, efficiency threshold, and deadline. A model that qualifies for one program may miss another by a fraction of a rating point, so confirm eligibility before you buy rather than after.
the Department of Energy's heat pump information covers how the technology works and why efficiency ratings matter. Confirm current amounts with the official sources and your utility before you budget. We help homeowners work through the rebate paperwork so nothing gets missed.
Frequently Asked Questions
How do I choose the right ductless mini split for my home?
Work through four decisions in order: how many zones you need, the BTU capacity for each room, the SEER2 rating you want, and whether your electrical panel and wall space can support the units. Base sizing on square footage plus ceiling height, insulation, window exposure, and climate rather than square footage alone. For an older home without ductwork, a multi-zone ductless mini split usually covers more rooms than several single-zone systems, and a professional load calculation confirms the final numbers before you buy.
What size mini split do I need for a 2,500-square-foot house?
A 2,500-square-foot home is rarely served well by one ductless mini split. Most plans split the house into several zones, each with its own indoor unit sized to that room's square footage, ceiling height, insulation, and window exposure. A rough starting point is about 20 BTU per square foot of cooled space, but that number shifts with climate and building shell. Treat any whole-house BTU figure as a rough estimate only, and have a contractor run a room-by-room load calculation before ordering equipment.
Should I choose a single-zone or multi-zone mini split?
Pick single-zone when one room needs conditioning, such as a converted garage, sunroom, or home office. Pick multi-zone when several rooms need independent temperature control from one outdoor unit. Multi-zone systems cost more upfront and need more line set routing, but they avoid hanging several outdoor units on the same wall. A common mistake is buying a multi-zone system and running every head at once, which can hurt efficiency. Match the zone count to how you actually use the rooms.
What efficiency rating should I look for in a mini split?
Compare SEER2 for cooling and HSPF2 for heating, since both appear on the equipment label. Higher numbers mean lower electricity use for the same output, but the price premium only pays back if the unit runs often. In a climate with heavy heating demand, HSPF2 and cold-weather capacity matter as much as SEER2. Ask for the rating at the capacity you actually need, because efficiency drops at extreme temperatures. A contractor can model operating costs for your specific rooms.
Choosing a mini split means matching zones, capacity, and efficiency to your actual home, not a showroom spec sheet. Get that wrong and you pay for it every month. BB O CONSTRUCTION CORP & HVAC installs high-efficiency ductless mini-split systems and heat pumps, runs proper load calculations, and guides you through utility rebates and federal tax credits from first estimate to final walkthrough. Get started with BB O CONSTRUCTION CORP & HVAC and a free estimate on a system sized for your home.
